Video Mapping, 3D Photogrammetry, Anamorphic Images, LandArt
Photogrammetry 3d model of the National Concert Hall of Budapest, 2012
Indoor 3d Photogrammetry based on panoramic 360° photos
I was called to built a video mapping layout to project into a screen inside the Béla Bartók National Concert Hall of Budapest in occasion of the spectacle Csongor & Tünde.
To get the wole venue in 3d I decided to draw it manually using the 3d photogrammetry with panoramics photos.
In the video below you can easily understand how this technique works.
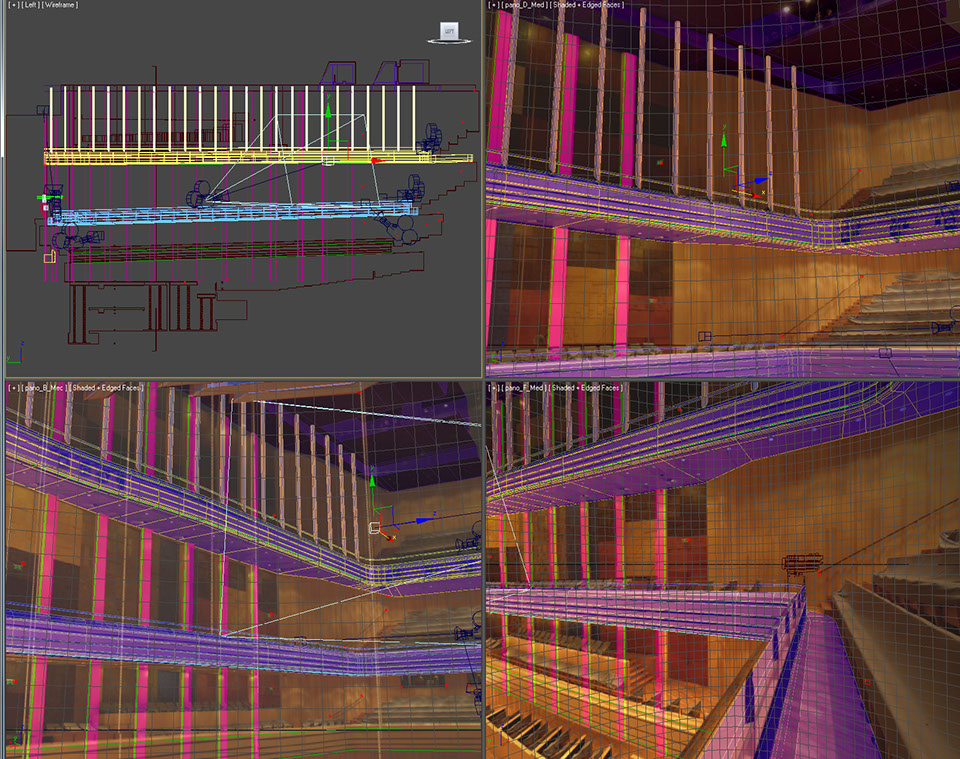
Inside my favourit 3d software I usually use the top left window to work and the other three windows to see trough the photgrammetric cameras.
The First step of this job is to go on site, at the Budapest Concert Hall to take some panoramic and detail photo and some measurements. Also collect as much informations as possible about the venue, such as 2d autocad/pdf and/or 3d models that already exist, to double check everything.
Panoramic 360° Photos
A panoramic photo is an image at the ratio of 2:1 that is used to map a sphere.
The final image is a stitch from 26 photos : a tour around looking up and taking 12 photos, one every 30° of rotation; a second tour of 12 photos looking down, one photo UP and one DOWN (those two points are called zenith and nadir).
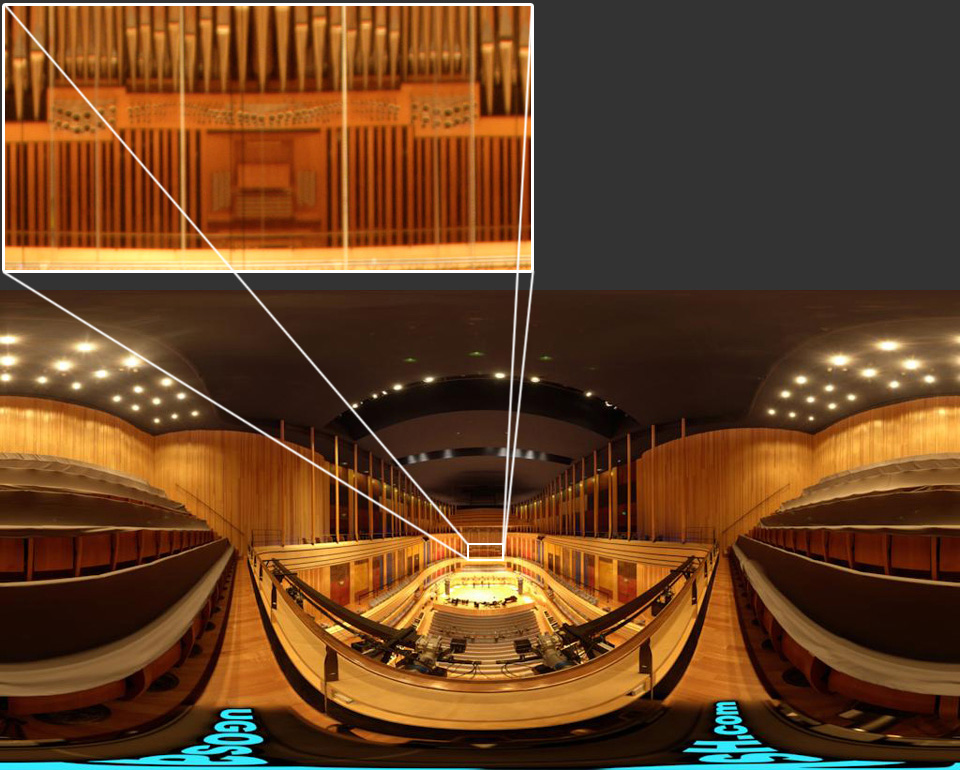
When I use a modern full frame digital camera the size of one panoramic photo is more than 300 Mega Pixels ! I have to downsize it if I want to save the image in jpeg, because a jpeg file cannot be more than 25.000 pixels width.
Usually the size of my panoramic is 24576x12888px.
Here you are a zoom into one panoramic photo to help understand the size and the amount of information inside each panoramic photo.
Once I develop all the panoramic I make a choice of those that I want to use in 3d to create the model.
Then I put them into a 3d environment and I start to calibrate the file making a manual point cloud.
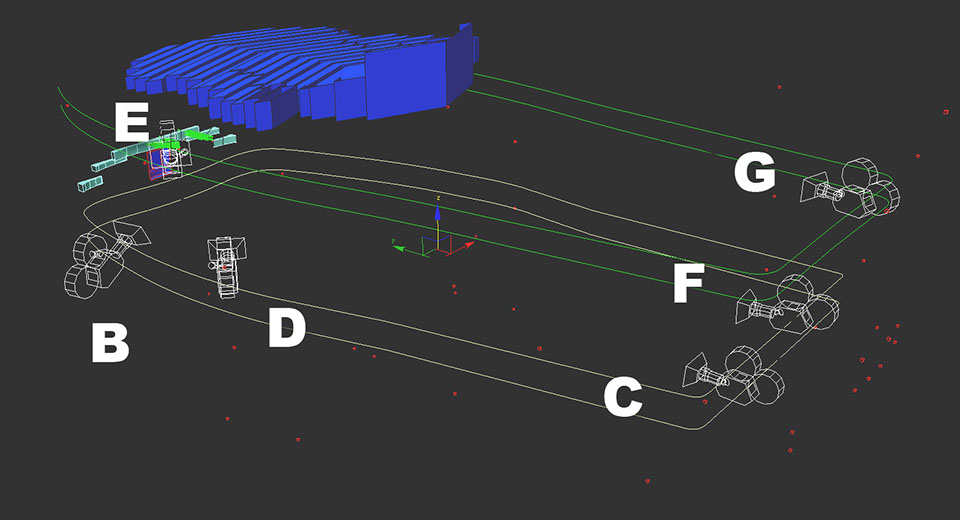
In the image above you have a 3d screen shot that show you the beginning of the model.
There are six cameras in the scene. Each camera is in the location of a panoramic image that I took. I built a sphere aligned to each camera and mapped it with the correspondent panoramic photo. Slowing down the texture opacity I can see the model I'm working on trough the spheres.
Red dots are the manual point cloud that I built to calibrate the 3d position of the photos. It is not an automatic process so it give me the possibility to choose exactly the points I need to begin the 3d modeling process.
If one object is at the same place when I see it from all the photogrammetric cameras this means that is in the right place. The error is less than one centimeter and this error is not cumulative.


You can click any of the thumbnails above to enter the correspondent panoramic photo, in full screen in a new window. You can click and drag to navigate inside the photo and use the mouse wheel to zoom in and out.
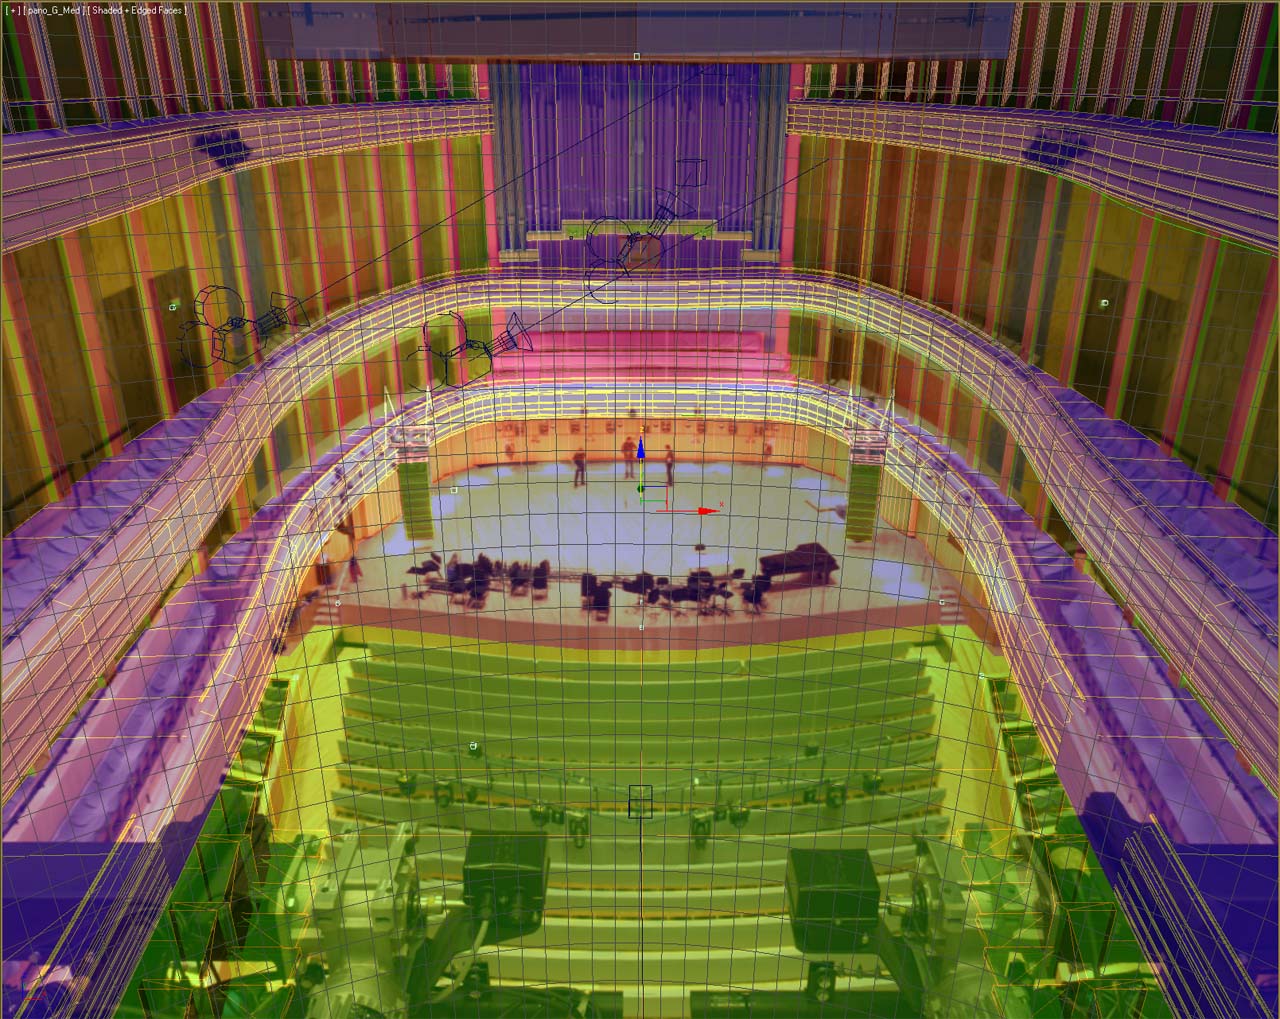
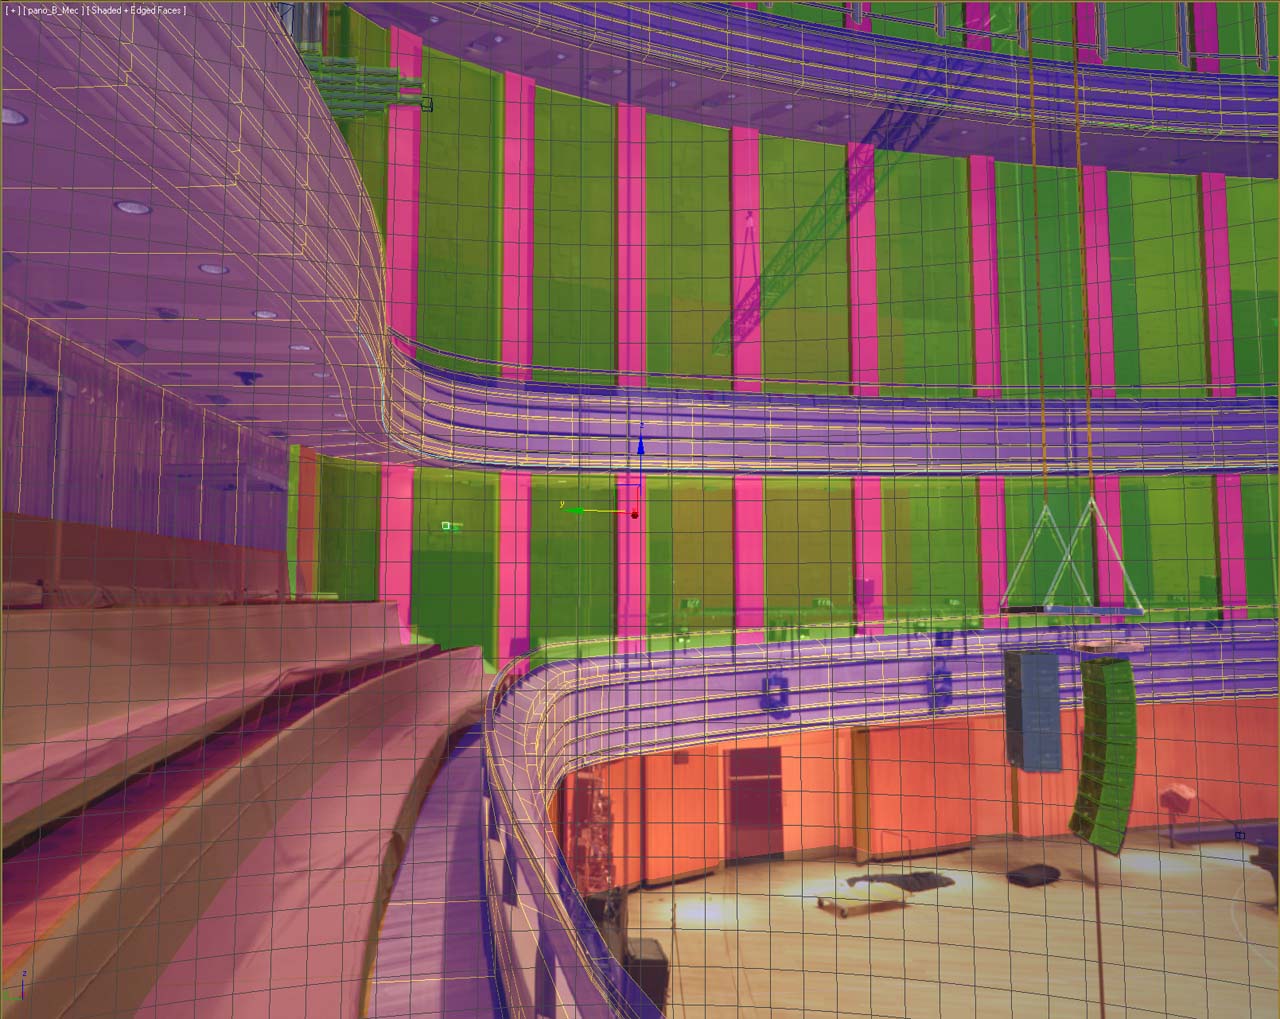
Below some 3d screen shots that show some steps of the 3d modeling.
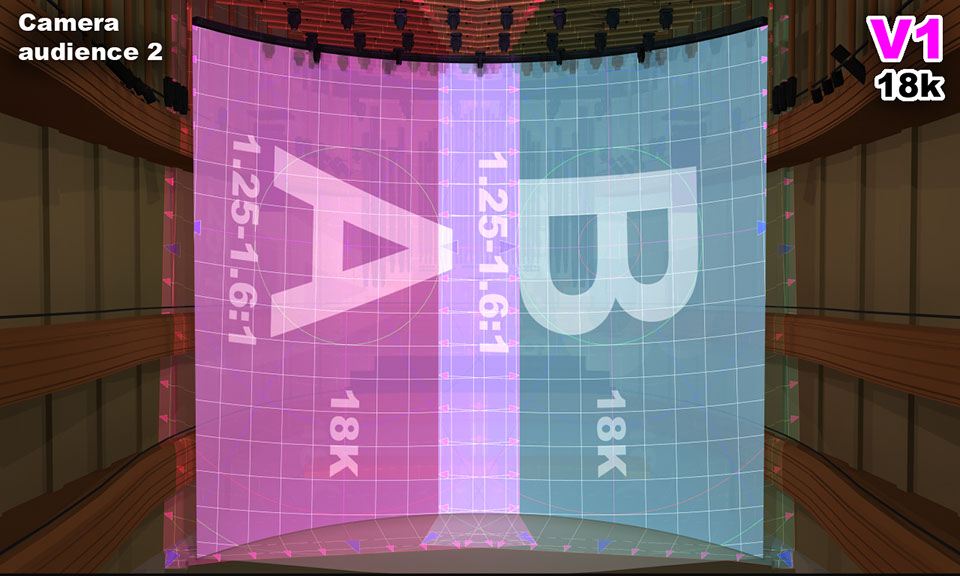
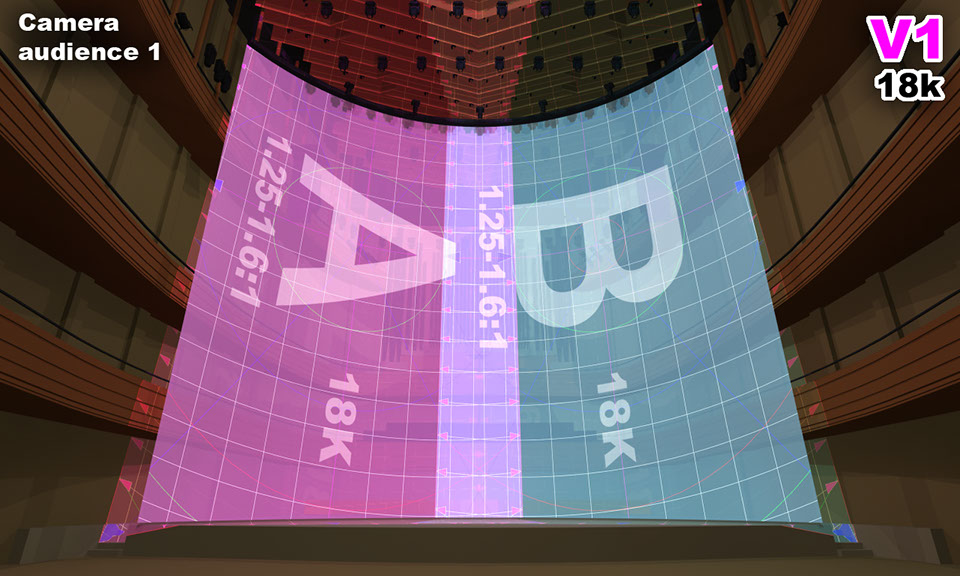
Indoor Video Mapping on a physical curved screen
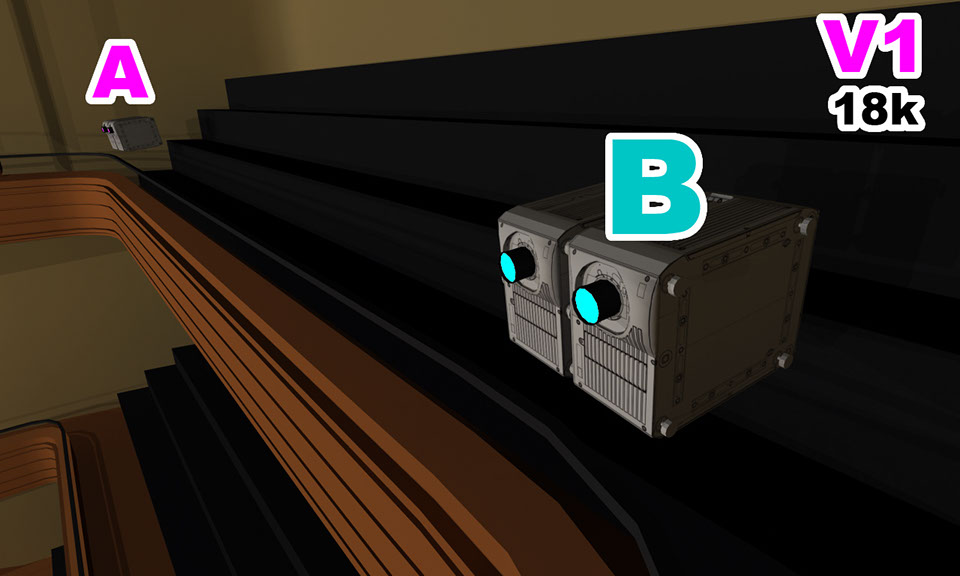
Now that the model is done it is time to begin the video mapping layout based on 4 Christie 20k HD video projectors.
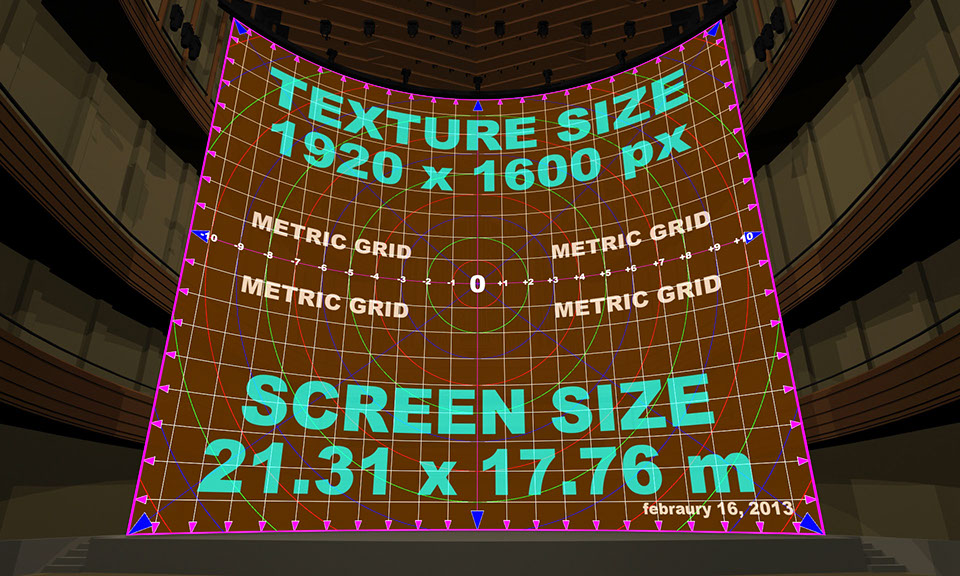
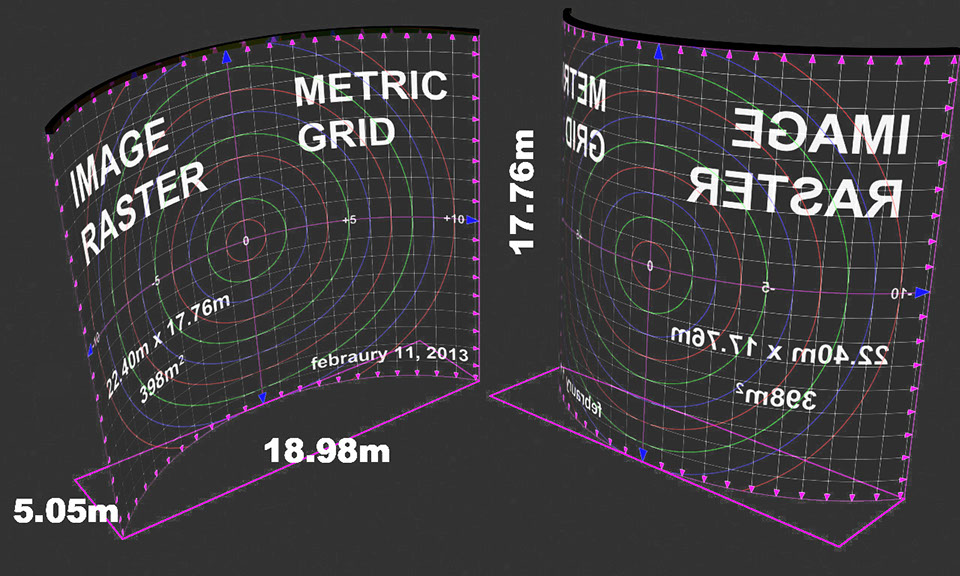
In the images below you have the screen video projected seen from the projectors location and from the VIP audience.
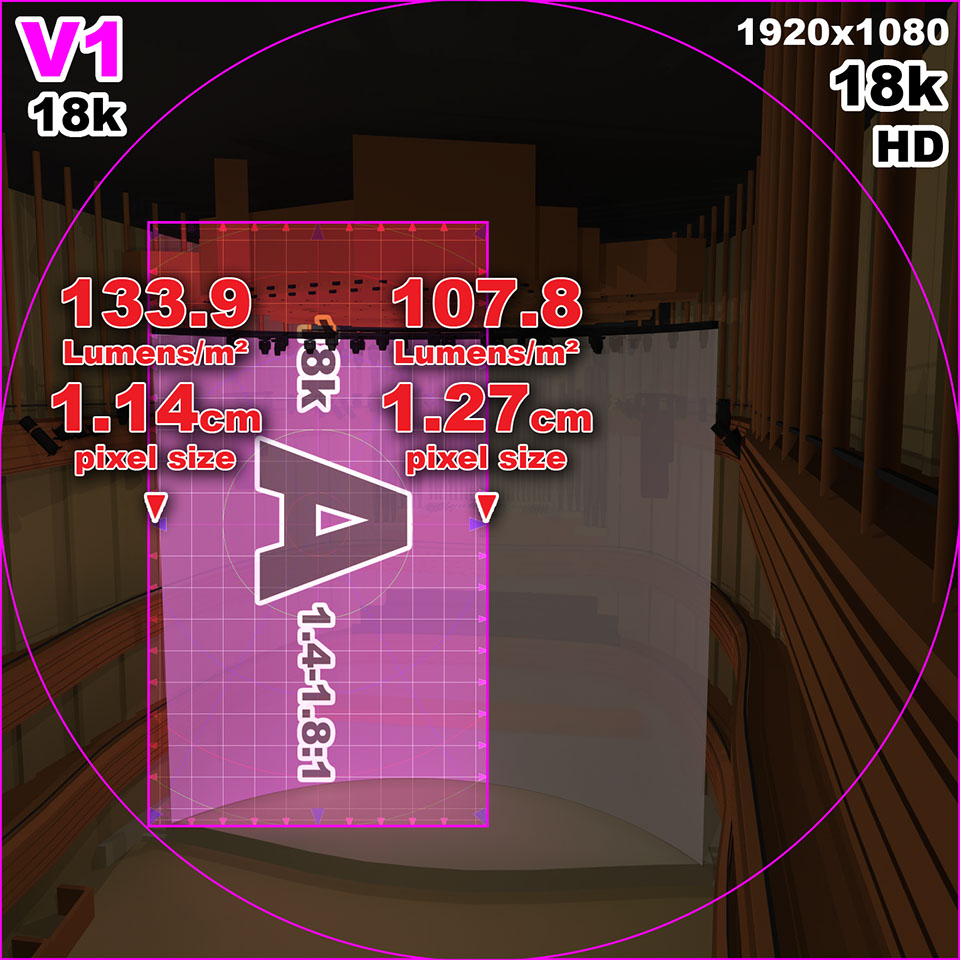
Then you have the projector point of view with some informations about Lumens and pixel size.
Texture and screen size with a metric grid to have an idea of the speed of a graphic elements that may be projected, and finally the projector location.
See all my mapping, photogrammetry and 3d design videos on Ugo Cassanello's Vimeo page
Follow UGOsansH on FaceBook www.facebook.com/video.mapping.photogrammetry
Access to Ugo Cassanello's YouTube channel dedicated to digital video mapping and photogrammetry
Want to leave me a message ? You can use the form in the contact page